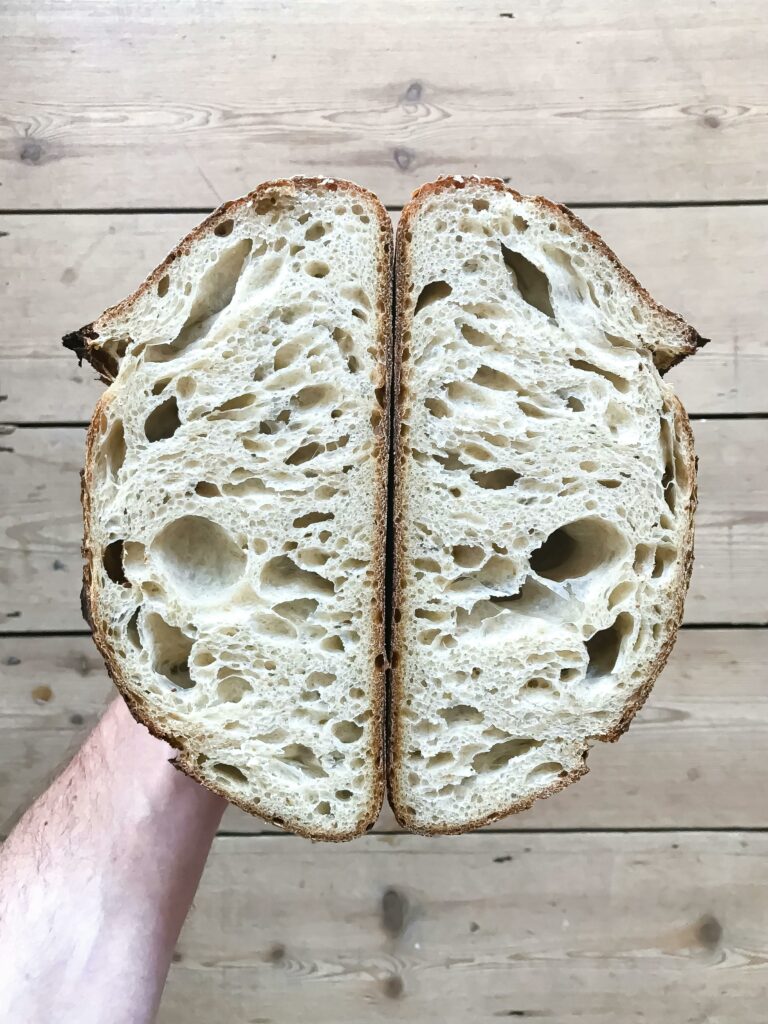
I love love love that sourdough is becoming popular. Serving a loaf of sourdough to your family is such a rewarding feeling – knowing that you can name every single ingredient in that loaf of bread. Unlike commercially produced bread, sourdough is good for the gut. Swapping store bought bread with sourdough can lead to better digestion, and has been said to keep blood sugars in the healthy range. Plus, it’s so flipping delicious.
Sourdough starter isn’t just limited to bread though. You can use the starter AND discard to make cookies, bagels, doughnuts, muffins, scones and anything else your heart desires.
Here’s what you need to know:
- Sourdough starter is just flour and filtered water that has been fed daily and fermented into an active culture full of beneficial bacteria and yeasts.
- Feeding your starter just means adding equal weight of water and flour. Discarding means throwing out some of the starter in your jar to make room for a new feeding. You don’t have to throw anything out though. You can add it to another jar, feed it as well, and have multiple jars of sourdough starter! Sourdough discard can be used in a variety of recipes, too!
- In the beginning, it’s recommended to discard every time you feed. That way it takes less flour and water for the yeast and bacteria to feed on. Once your starter is mature – discard is optional.
- It’ll take up to two weeks for your brand new sourdough starter to be ready to use in baking.
- The sourdough starter will best perform when the jar is placed in a warm area in your house.
- A mature starter can be placed in the fridge and still survive. Just feed once or twice a week and all is well!
- Regular all-purpose flour will take longer to get active and ready to use than that of a whole wheat flour.
How will you know when your starter is ready to use?
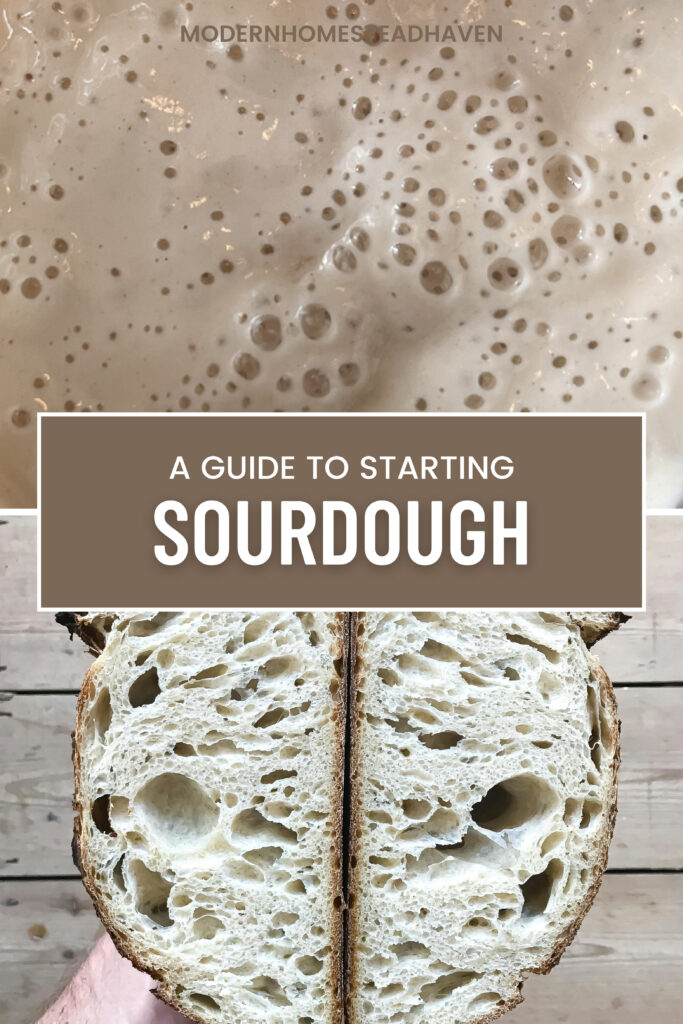
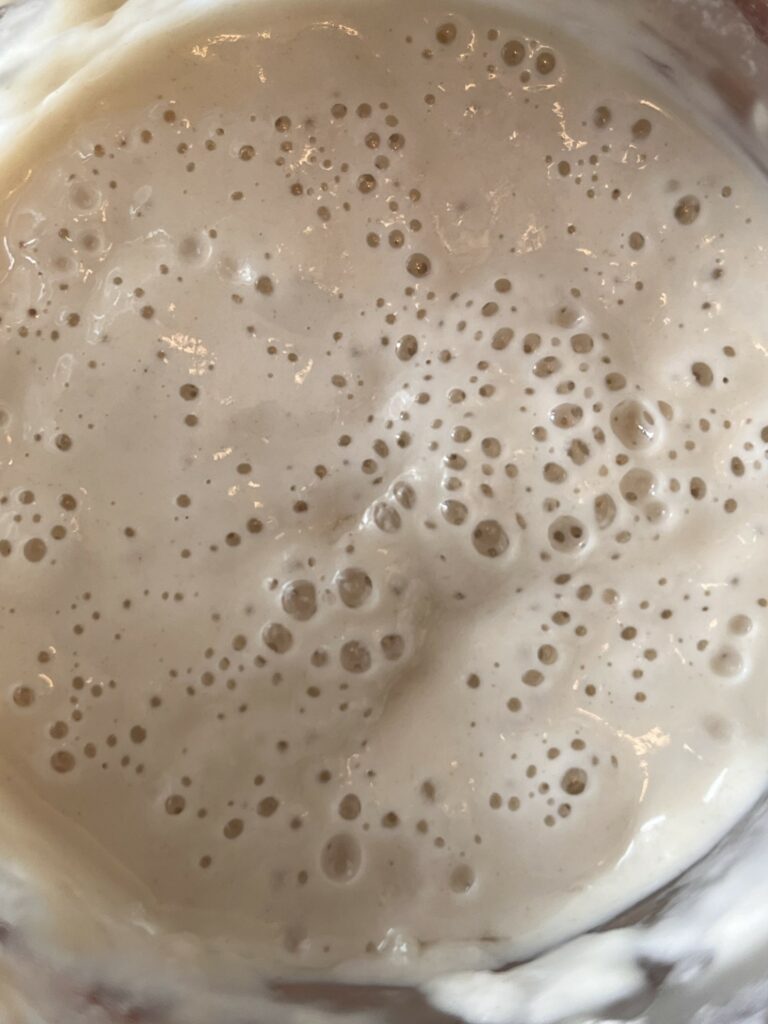
I’ve used a few methods to test if my new starters are ready to use. One is taking a dollop and plopping it into some room temperature water. If it floats, it’s ready. If it sinks, not ready. But the most accurate way is pretty straight forward. After you feed your sourdough starter and it has doubled in size in 12 hours or less – it’s ready! It’ll look super fluffy and bubbly. It’s good practice to mark a line where the sourdough starter is (right after feeding) with a dry erase marker or rubber band, this way, there will be no mistake in telling if the starter has doubled in size or not!
Okay… But how do you start?
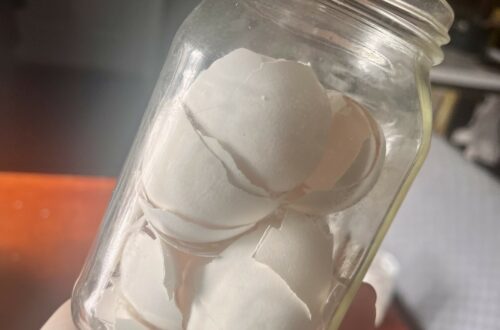
Trust me, it is so simple. I’ve watched some videos and read some blogs that make it way more complicated than it needs to be. The best way to learn sourdough is to just do it – to learn by trial and error. What you need to do is get a glass jar – wide mouth canning jars work best in my opinion – and grab whatever flour you would like to use. No, it doesn’t have to be anything special, almost any kind of flour will do but unbleached is recommended.
Steps:
Day 1: Combine 150g unbleached flour and 150g filtered water into your mason jar. Stir well, cover with the lid, plastic wrap or tea towel, and let it rest.
Day 2: Try to come back to your starter at the same time of day if you can. Give it a full 24 hours. You should see a few bubbles forming throughout. Give the starter a quick stir and throw half of it away. This can just be eyeballed rather than weighed. Feed the starter with 50g unbleached flour and 50g filtered water. It’s best if the water is room temperature. Stir until you can’t see anymore dry flour. Cover it up, come back in 24 hours.
Day 3: You should still see a few bubbles and the starter should have a weird sour smell. I remember my first sourdough starter smelled like parmesan cheese. If you don’t see any bubbles, don’t worry, just keep going through the steps and it’ll happen! Repeat what you did yesterday. Remove half, add an equal 50g of flour and room temperature water, stir, cover, come back tomorrow.
Day 4: Bubbles! If you see liquid in your starter, don’t worry. It’s called hooch and it’s a good sign that your yeast is active and hungry! Repeat steps from the previous day. Discard half, add 50 grams of each flour and water, stir well, cover, let it be!
Day 5: Here is where we change things up. You’ll feed your starter every 12 hours rather than 24. All of the same steps. Discard half, add 50 equal grams, stir well and let it relax! The starter should take on a sweet and funky smell by now.
Day 6: Repeat with the 2x a day feedings. You should start to see increased activity. If not, no worries just keep repeating this process and it’ll happen. Sourdough is unpredictable.
Day 7: Repeat the 2x a day feedings. If you are seeing your starter increase in size and then fall back down – this is a good sign!! It means the starter is almost ready to use. Keep and eye on how much it rises and falls throughout the day if you can.
Day 8: Now it’s safe to feed the starter once a day again. You can even split off the discard and have multiple jars started. Keep up with the daily feedings and once your starter is doubling in size after 12 or less hours – she’s ready!
What if you see mold in your starter?
This is the only time I’ll every tell someone to throw away the starter. Sometimes it just happens. My advice is make sure the sides of the jar are clean after each feeding. Don’t stress – just start again!
After 7-8 days the starter should be ready to use. If you don’t think the starter is rising enough – just keep going through the cycle. Make sure you follow a credible loaf recipe! My first loaf was as flat as I wish my stomach was – hahah! So, if this happens to you, don’t worry! Just keep feeding your starter daily and try again in another week. I promise that you WILL get the hang of it. Remember, trial and error!
I strongly encourage buying a sourdough beginners kit so you’ll have all of the tools you’ll need. This is completely optional though!
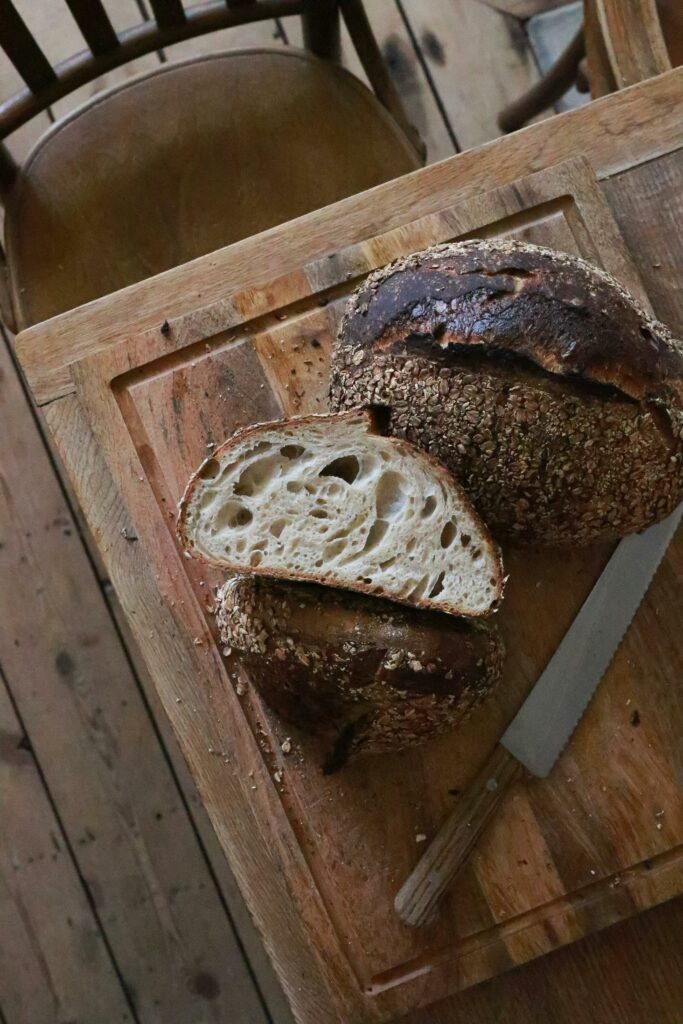
Happy Baking!