This post may contain affiliate links. I earn commission from qualifying purchases at no extra cost to you. Please review my affiliate disclosure.
I don’t know about you guys, but I get way too excited about my garden. I start quite a few of my garden plants indoors to try to promote an earlier harvest. I live in Central Canada so the earlier I can harvest, the better. Other than an earlier harvest there are numerous benefits to seed-sowing indoors.
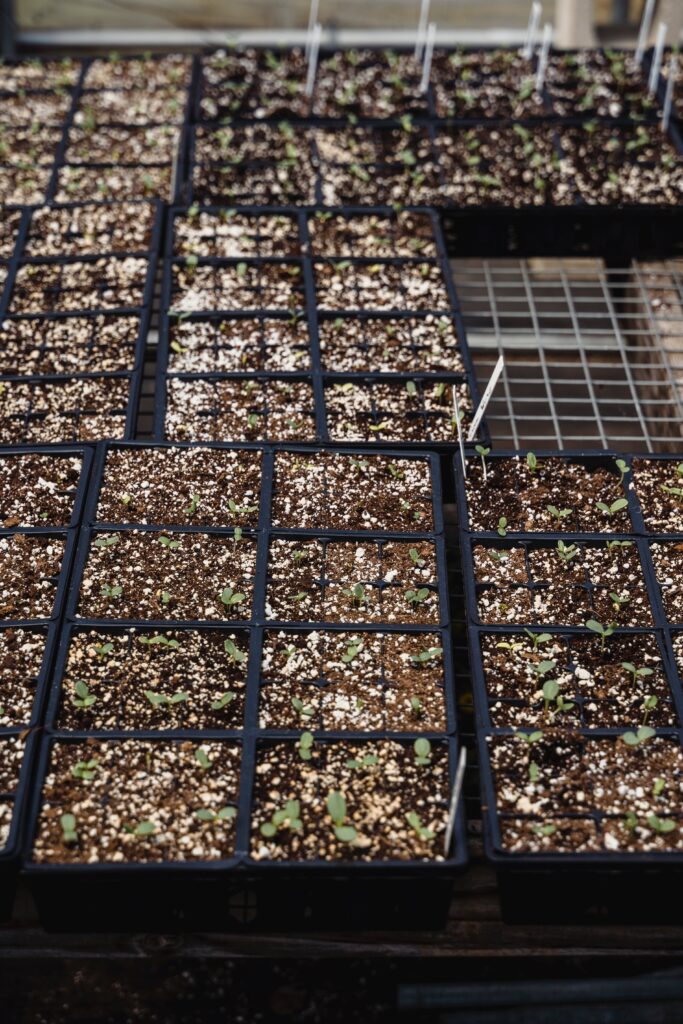
- It’s actually necessary for a number of different plants. Many warm season vegetables such as tomatoes and peppers, can’t be planted too early in the cool spring soil. Starting seeds indoors allows you to gain a few weeks of growing time for whichever plant you start.
- Starting seeds indoors is so much more affordable than buying established plants from the local greenhouse.
- You can plant a much wider range of varieties. You can find seeds for plant varieties that you would never find in a six-pack at the local garden center!
- You get piece of mind knowing exactly how your plants are raised from seed to harvest.
- BONUS – you can plant extras and give them away as gifts to family and friends!
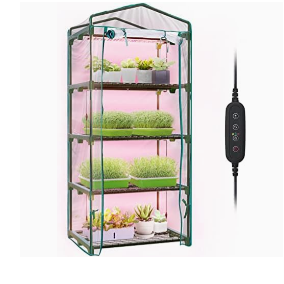
I personally use a mini indoor greenhouse and grow lights to grow all of my vegetables but I probably go a little overboard. Seeds can be started indoors and placed by a warm and sunny windowsill and still be successful! In my opinion, the best company you can buy seeds from is Seeds Now. Affordable, quality seeds every. single. time. Organic options, too!
#1 Tomatoes
There’s nothing quite like a fresh garden tomato. Tomatoes are likely my top grown plant in my garden – you can do so much with them. From salsa, to fresh tomato sandwiches, the possibilities never end with tomatoes. They are fairly simple to grow, aside from the need to start them inside prior to last frost.
While tomato plants are commonly available at the greenhouse ready for someone to take home and transplant, growing them from seed yourself offers a sense of accomplishment as well as the vast options between varieties and heritage.
Choose Your Seeds: Select tomato seeds from a reputable source. There are many varieties available, so choose ones that suit your taste preferences and growing conditions.
Gather Supplies: You’ll need seed starting trays or pots, sterile seed starting mix, a spray bottle for watering, and a warm, well-lit area for germination.
Fill Trays or Pots: Fill your seed trays or pots with the seed starting mix, leaving about ¼ inch of space below the rim.
Plant Seeds: Plant 2-3 seeds per pot or cell, placing them about ¼ to ½ inch deep into the soil. Cover the seeds lightly with soil.
Water: Use a spray bottle to moisten the soil evenly. Make sure the soil is damp but not waterlogged.
Provide Warmth and Light: Place the trays or pots in a warm location, ideally between 70-80°F (21-27°C). You can use a seedling heat mat to provide bottom heat, which can promote germination. Additionally, provide 14-16 hours of light per day using grow lights or placing the pots near a sunny window.
Maintain Moisture: Keep the soil consistently moist but not soggy. Use the spray bottle to water gently as needed, ensuring the soil doesn’t dry out.
Thin Seedlings: Once the seedlings emerge and develop their first set of true leaves, thin them out by removing the weaker seedlings, leaving only the strongest one per pot.
Transplant: When the seedlings have grown several inches tall and have developed a few sets of leaves, they are ready to be transplanted into larger pots or into the garden, after the last frost date in your area.
Harden Off: Before transplanting them outdoors, gradually expose the seedlings to outdoor conditions over the course of a week to acclimate them to the sun, wind, and temperature fluctuations. Start with a few hours of outdoor exposure and gradually increase the time each day.
#2 Broccoli
Broccoli is another one of my favorites, especially fresh. In my experience, Broccoli and Cauliflower are a little more challenging to grow than tomatoes – especially when its a bad year for flea beetles.
Select Your Seeds: Choose broccoli seeds from a reliable source. Look for varieties that are well-suited to your climate and growing conditions.
Prepare Containers: Use small pots or seed trays filled with a seed starting mix. Ensure the containers have drainage holes at the bottom to prevent waterlogging.
Plant the Seeds: Plant broccoli seeds about ¼ to ½ inch deep in the soil, spacing them a few inches apart. You can plant multiple seeds per pot and thin them out later.
Water Gently: Use a spray bottle or a gentle stream of water to moisten the soil thoroughly after planting. Keep the soil consistently moist but not waterlogged throughout the germination process.
Provide Warmth and Light: Broccoli seeds germinate best in temperatures between 65-75°F (18-24°C). Place the containers in a warm location, such as near a sunny window or under grow lights. Ensure they receive 12-16 hours of light per day.
Thin Seedlings: Once the seedlings emerge and develop their first set of true leaves, thin them out by removing the weaker seedlings, leaving only the healthiest ones per pot.
Fertilize: After the seedlings have established their second set of true leaves, you can start fertilizing them with a balanced, water-soluble fertilizer diluted to half strength. Apply the fertilizer every 2-3 weeks according to the package instructions.
Transplant: When the seedlings have grown to about 3-4 inches tall and have developed several sets of true leaves, they are ready to be transplanted into larger pots or into the garden. Ensure the outdoor soil has warmed up and there’s no risk of frost before transplanting.
Harden Off: Before transplanting them outdoors, gradually acclimate the seedlings to outdoor conditions over the course of a week. Start by placing them outdoors in a sheltered location for a few hours each day, gradually increasing the time and exposure to sunlight and wind.
Planting Outdoors: Choose a sunny location with well-drained soil for transplanting your broccoli seedlings. Space them according to the recommended spacing for the variety you’re growing, typically 18-24 inches apart.
#3 Peppers
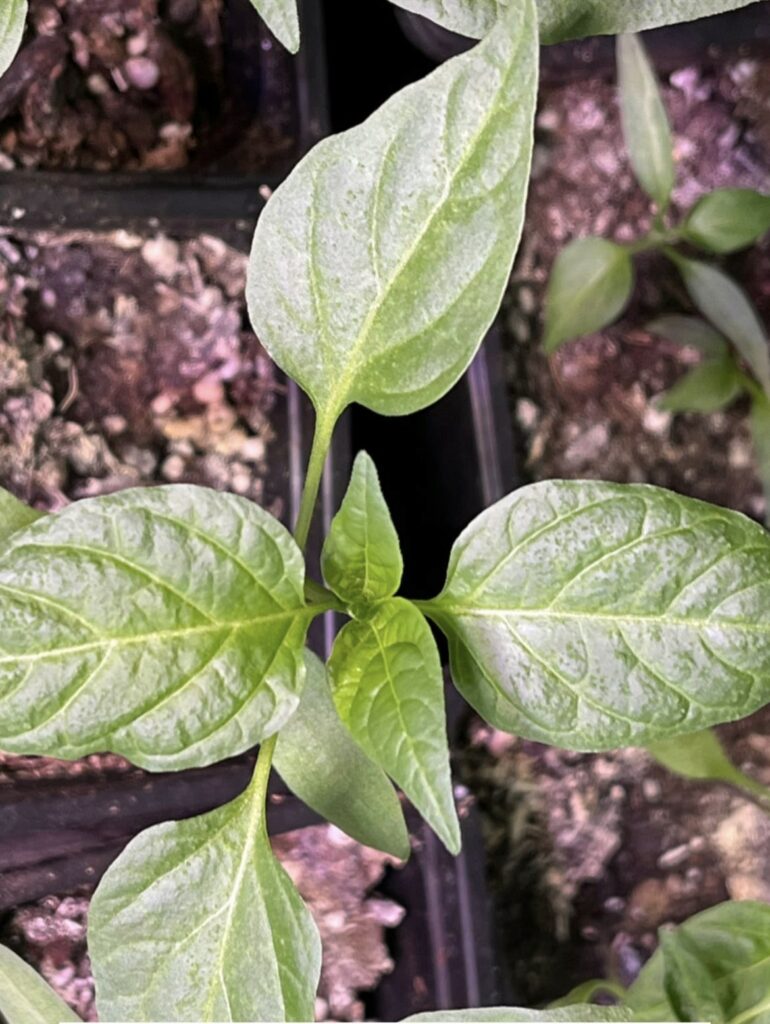
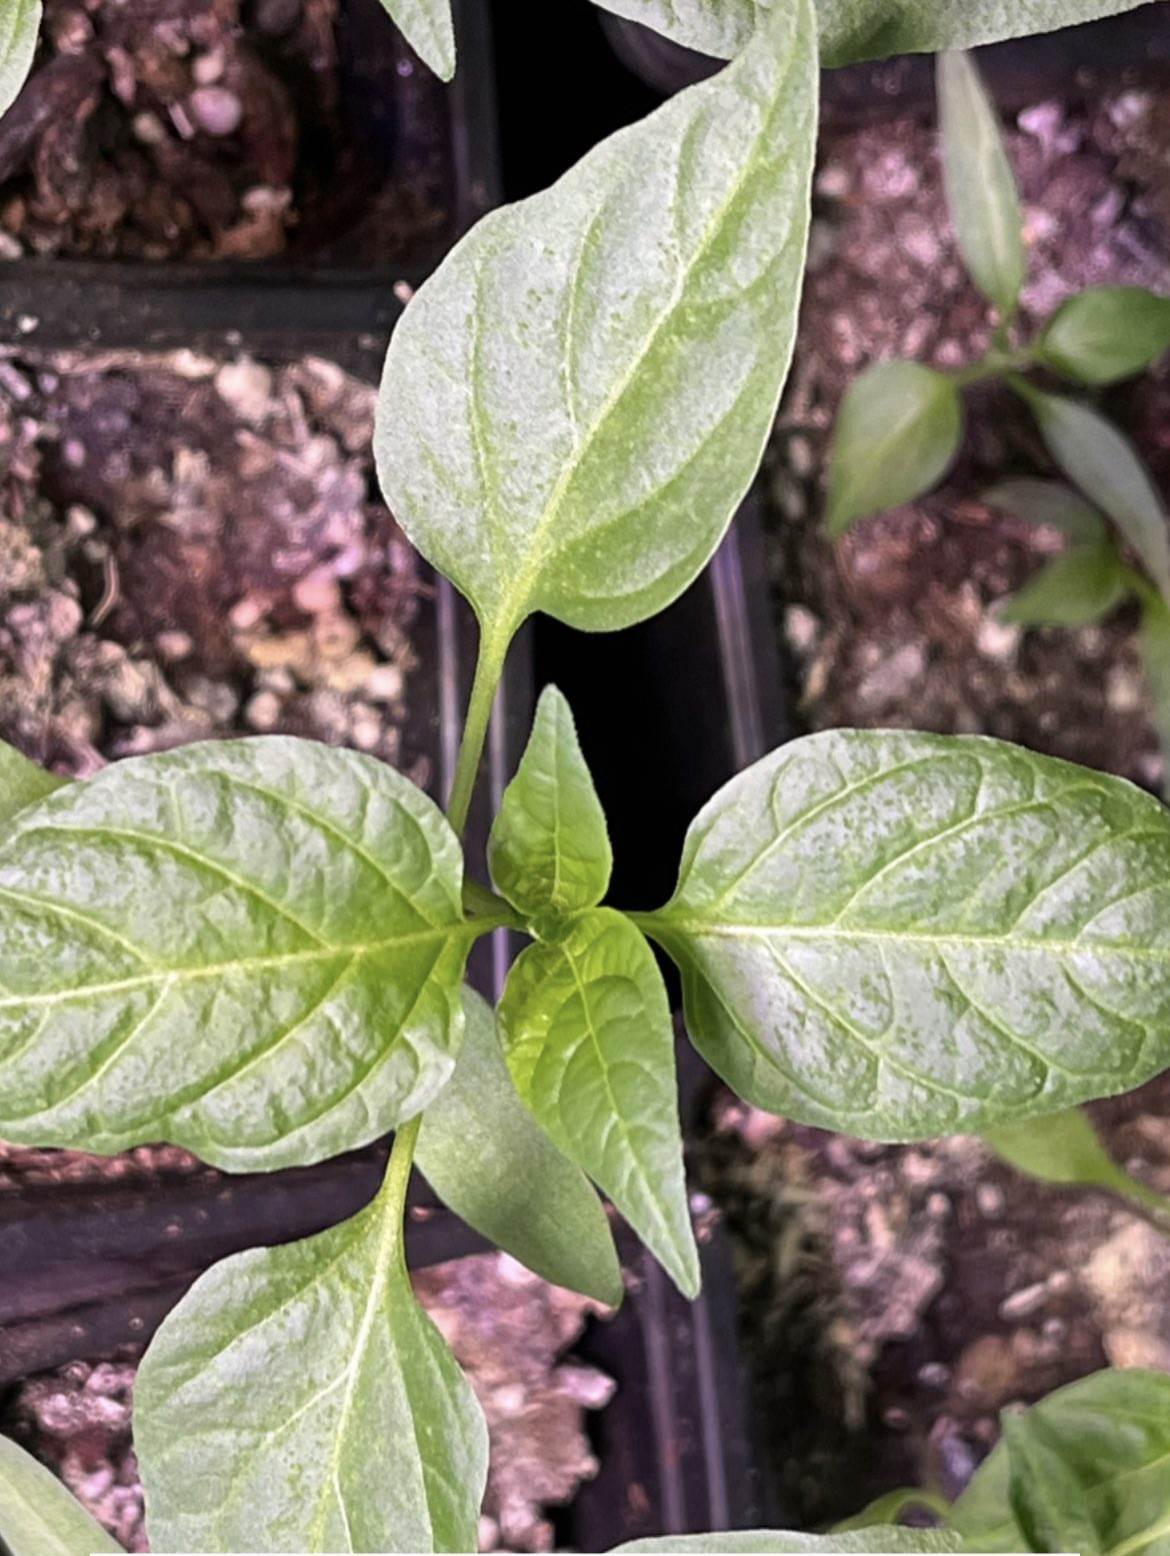
There are so many varieties of peppers to grow, sometimes it’s overwhelming. I love to plant 3-4 different spicy varieties, bell peppers, and a few sweet peppers for pickling. Peppers are the most laid back, easy to grow and transplant vegetable that I start inside. I like to start peppers indoors 10-12 weeks before transplanting them outdoors.
Choose Your Seeds: Select pepper seeds from a reputable source. There are many varieties available, including sweet peppers and hot peppers, so choose based on your taste preferences and the growing conditions in your area.
Prepare Containers: Use small pots or seed trays filled with a sterile seed starting mix. Ensure the containers have drainage holes to prevent waterlogging.
Plant the Seeds: Plant pepper seeds about ¼ inch deep in the soil, spacing them a few inches apart. You can plant multiple seeds per pot and thin them out later.
Water Gently: Use a spray bottle or a gentle stream of water to moisten the soil thoroughly after planting. Keep the soil consistently moist but not waterlogged throughout the germination process.
Provide Warmth and Light: Peppers require warm temperatures to germinate, ideally between 70-85°F (21-29°C). Place the containers in a warm location, such as near a sunny window or under grow lights. Ensure they receive 12-16 hours of light per day.
Thin Seedlings: Once the pepper seedlings emerge and develop their first set of true leaves, thin them out by removing the weaker seedlings, leaving only the healthiest ones per pot.
Fertilize: After the seedlings have established their second set of true leaves, you can start fertilizing them with a balanced, water-soluble fertilizer diluted to half strength. Apply the fertilizer every 2-3 weeks according to the package instructions.
Transplant: When the pepper seedlings have grown to about 3-4 inches tall and have developed several sets of true leaves, they are ready to be transplanted into larger pots or into the garden. Ensure the outdoor soil has warmed up and there’s no risk of frost before transplanting.
Harden Off: Before transplanting them outdoors, gradually acclimate the seedlings to outdoor conditions over the course of a week. Start by placing them outdoors in a sheltered location for a few hours each day, gradually increasing the time and exposure to sunlight and wind.
Planting Outdoors: Choose a sunny location with well-drained soil for transplanting your pepper seedlings. Space them according to the recommended spacing for the variety you’re growing, typically 18 inches apart.
#4 Cauliflower
Cauliflower is a cultivar of wild cabbage, just like broccoli, brussels sprouts, kale, collards and cabbage. Also referred to as brassicas, they are a cold-hardy group of vegetables. I like to start my cauliflower indoors about 8 weeks ahead of time.
Choose Your Seeds: Select cauliflower seeds from a reputable source. There are various varieties available, including traditional white cauliflower, as well as purple, green, and orange varieties. Choose seeds that are suitable for your growing conditions and preferences.
Prepare Containers: Use small pots or seed trays filled with a sterile seed starting mix. Make sure the containers have drainage holes to prevent waterlogging.
Plant the Seeds: Plant cauliflower seeds about ¼ inch deep in the soil, spacing them a few inches apart. You can plant multiple seeds per pot and thin them out later.
Water Gently: Moisten the soil thoroughly after planting using a spray bottle or a gentle stream of water. Keep the soil consistently moist but not waterlogged throughout the germination process.
Provide Warmth and Light: Cauliflower seeds germinate best in temperatures between 60-75°F (16-24°C). Place the containers in a warm location, such as near a sunny window or under grow lights. Ensure they receive 12-16 hours of light per day.
Thin Seedlings: Once the cauliflower seedlings emerge and develop their first set of true leaves, thin them out by removing the weaker seedlings, leaving only the healthiest ones per pot.
Fertilize: After the seedlings have established their second set of true leaves, you can start fertilizing them with a balanced, water-soluble fertilizer diluted to half strength. Apply the fertilizer every 2-3 weeks according to the package instructions.
Transplant: When the cauliflower seedlings have grown to about 3-4 inches tall and have developed several sets of true leaves, they are ready to be transplanted into larger pots or into the garden. Ensure the outdoor soil has warmed up and there’s no risk of frost before transplanting.
Harden Off: Before transplanting them outdoors, gradually acclimate the seedlings to outdoor conditions over the course of a week. Start by placing them outdoors in a sheltered location for a few hours each day, gradually increasing the time and exposure to sunlight and wind.
Planting Outdoors: Choose a sunny location with well-drained soil for transplanting your cauliflower seedlings. Space them according to the recommended spacing for the variety you’re growing, typically 24 inches apart.
Learn more about growing cauliflower
#5 Herbs
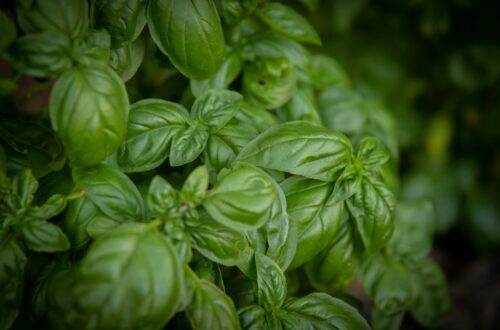
I love growing herbs. I have jars upon jars of dried herbs in my home at all times of the year. Consult the seed package for each individual herbs seeding requirements. Many common herbs are very similar in the way they grow and many are slow germinating which is why I like to start mine indoors 12 weeks before they head to the garden!
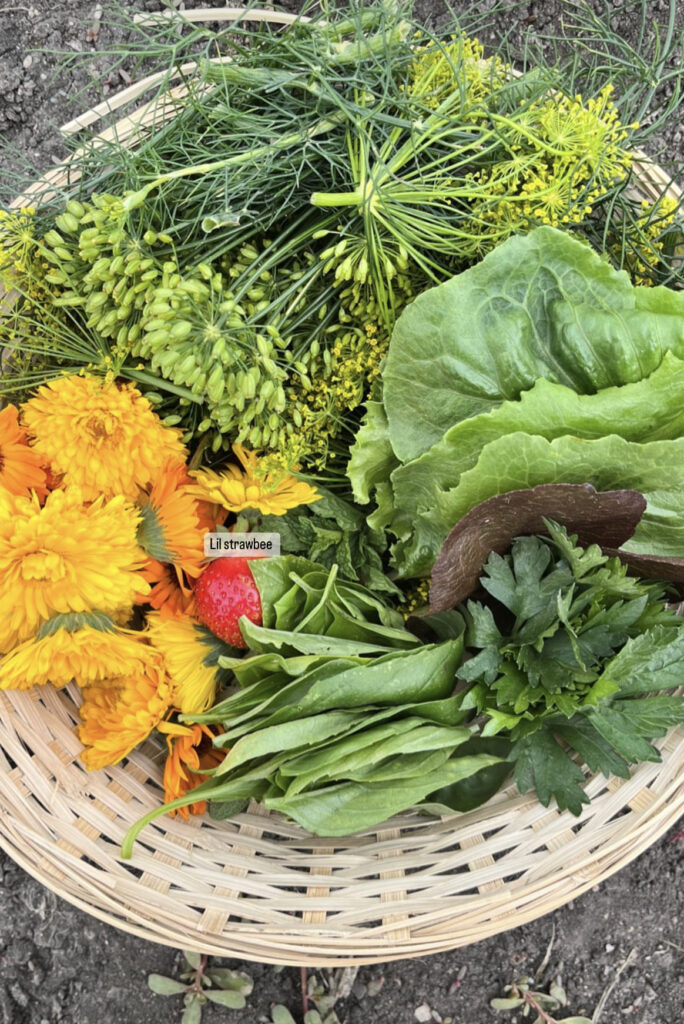
Select Your Seeds: Choose herb seeds from a reputable source. Common herbs grown indoors include basil, cilantro, parsley, chives, thyme, oregano, and mint. Select seeds that are fresh and suited to indoor growing conditions.
Prepare Containers: Use small pots, seed trays, or shallow containers filled with a well-draining potting mix or seed starting mix. Ensure the containers have drainage holes at the bottom to prevent waterlogging.
Plant the Seeds: Sow herb seeds according to the recommended depth provided on the seed packet. In general, herb seeds are sown shallowly, usually about 1/4 to 1/2 inch deep. Plant multiple seeds per pot or cell to increase the chances of germination.
Water Gently: Moisten the soil evenly after planting using a spray bottle or a gentle stream of water. Avoid saturating the soil, as excessive moisture can lead to damping-off disease. Keep the soil consistently moist but not waterlogged throughout the germination process.
Provide Warmth and Light: Most herb seeds germinate best in warm temperatures between 60-70°F (15-21°C). Place the containers in a warm location, such as near a sunny window or under grow lights. Ensure they receive 12-16 hours of light per day.
Thin Seedlings: Once the herb seedlings emerge and develop their first set of true leaves, thin them out by removing the weaker seedlings, leaving only the healthiest ones per pot or cell.
Fertilize: After the herb seedlings have established their second set of true leaves, you can start fertilizing them with a balanced, water-soluble fertilizer diluted to half strength. Apply the fertilizer every 2-3 weeks according to the package instructions.
Transplant (Optional): Depending on the size of the containers and the growth rate of the herbs, you may need to transplant the seedlings into larger pots as they grow. Choose pots with good drainage and fill them with a well-draining potting mix. Alternatively, harden them off outdoors for a few weeks and transplant them into the garden!
Harvest: Once the herb plants have grown to a sufficient size, you can start harvesting leaves as needed. Use clean scissors or pinch off individual leaves to encourage continued growth.
Maintenance: Regularly check the soil moisture level and water the herbs when the top inch of soil feels dry to the touch. Rotate the pots regularly to ensure even growth and expose all sides of the plants to light.
**Any herbs in the mint family need to have 15-20 inches of growing space – they spread like crazy.
Equipment To Use While Starting Seeds Indoors:
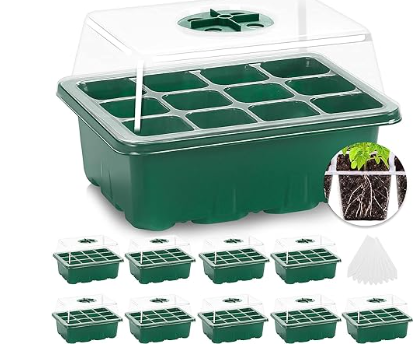
- Quality Nursery Pots – I say quality because if they don’t crack or break during transplant, I’ll re-use them for as long as I can. Click here for your basic black pots or if you’re looking for the greenhouse effect without the greenhouse, click here.
- Indoor Greenhouse – It doesn’t have to be anything expensive or fancy at all. I bought mine for less than $100CAD during a Black Friday sale. Click here for some affordable mini greenhouse options.
- Indoor Grow Lights – these are essential if you want to start seeds indoors but don’t have a lot of light. I’ve bought grow lights from Amazon and they are some of the best. Click here for a list of grow lights.
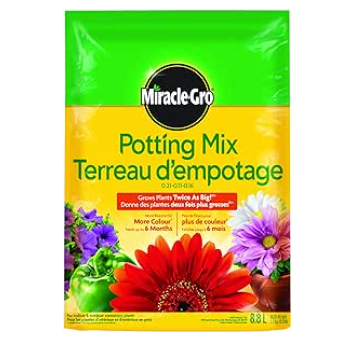
- Quality Soil – it doesn’t have to be anything fancy. I usually use Miracle Gro branded soil as its affordable and does the job.
Don’t get discouraged if some seeds don’t germinate, or you have a few plants that die off somewhere along the line. That’s all part of the gardening game. I’ve been gardening with my great grandma since I could walk and on my own for years and years now, and I still have to go through trial and error. Have fun with it!
HAPPY PLANTING!!
