Mead is a times old way of making ‘wine’ by fermenting honey, water and yeast. It is commonly flavored by adding herbs, florals, spices and fruit to the fermentation process. Many people hear the word ‘fermentation’ and get scared away but trust me, it is much easier than it sounds.
I started making mead a few years ago and I started off simple, very simple. Honey, water, yeast. Let ferment and then bottle. After my first batch I bought some books, read various blog posts and started to experiment. Now, I’m fairly confident in the methods that I use. Maybe my methods will not work for you, maybe they will. That’s why you have to take the time and figure out what works for you.
Throughout my experience, the best thing you can do is invest in the equipment to make the process easier. I separately bought a 1 gallon carboy with a fermentation cap and a siphon tube and bottling set. I know Amazon has some all in one kits that would be perfect for a beginner!
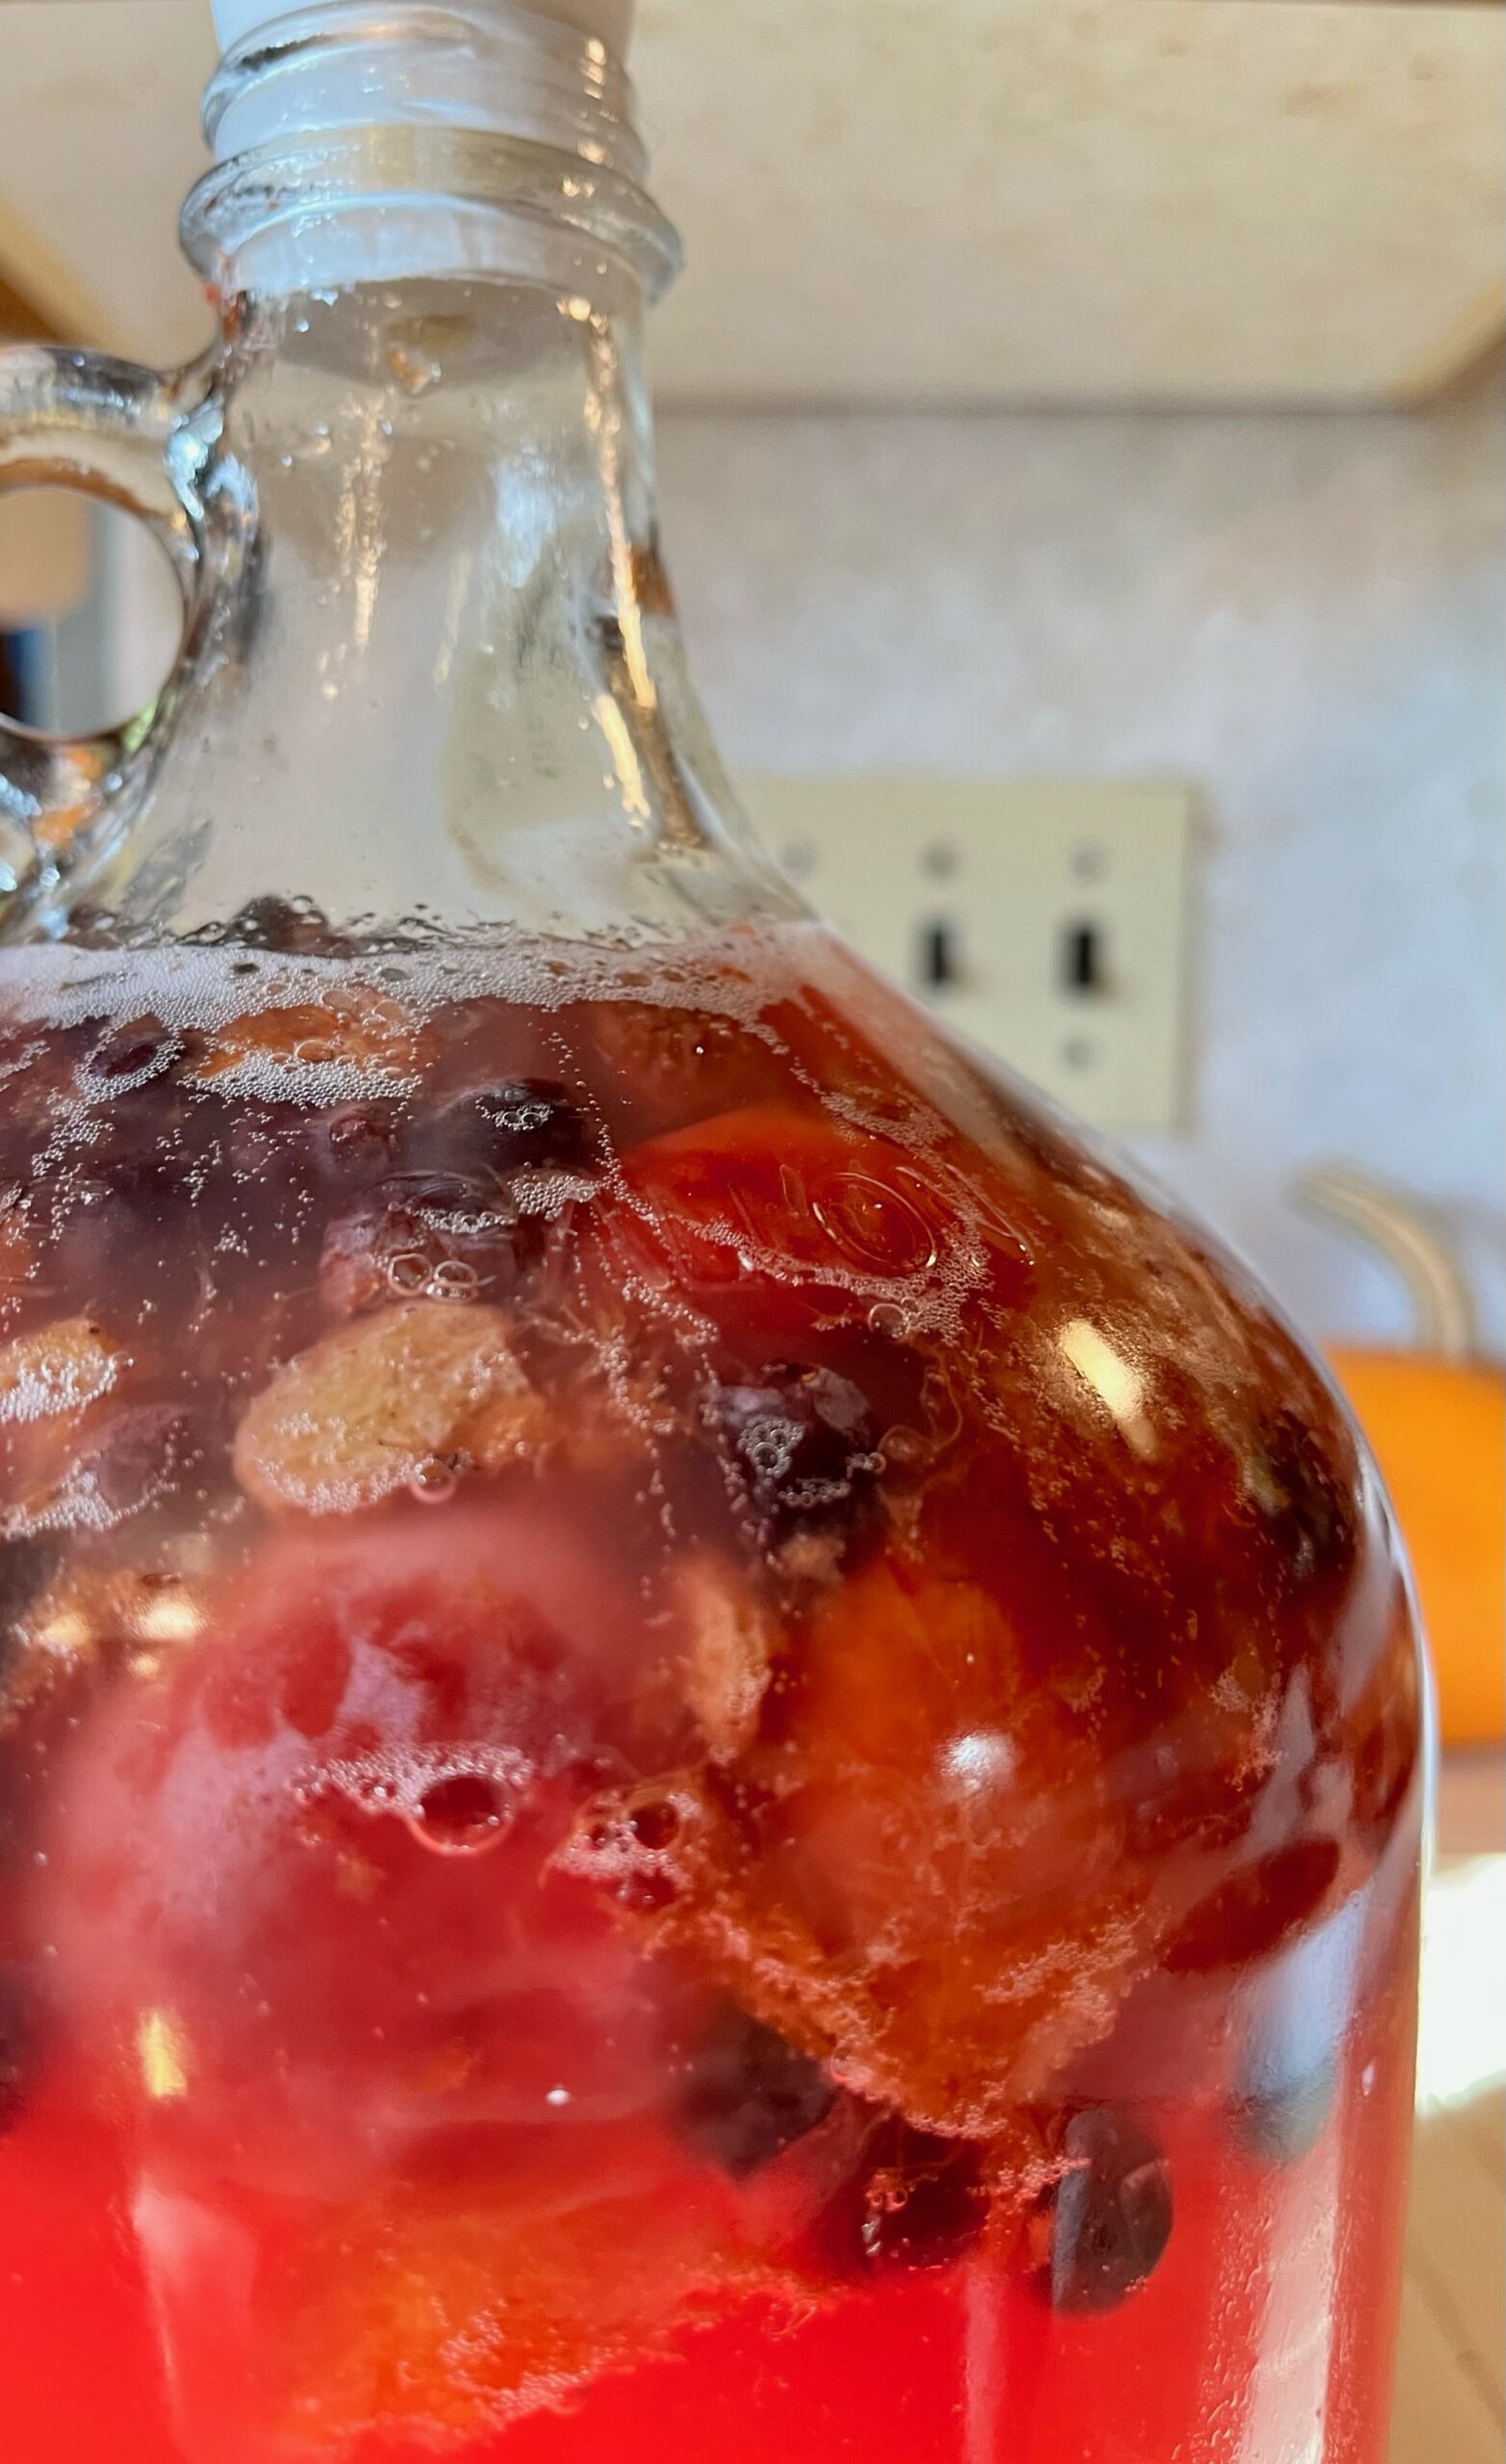
Mead is so versatile. Check out how pretty my latest batch is in the picture below! This is made with some leftover Manitoba picked grapes & plums that I had frozen back in the summer. This took me 20 minutes start to finish… or start to the ‘set it in the pantry and wait’ step if you want to get technical. I mixed the water and honey on low heat until dissolved and while that dissolved, I shoved the plums and grapes into the jug. Then, I used my large funnel and poured it all into the jug. Once the temperature reached 90F, I added my yeast and shook the jug until my arms were numb.
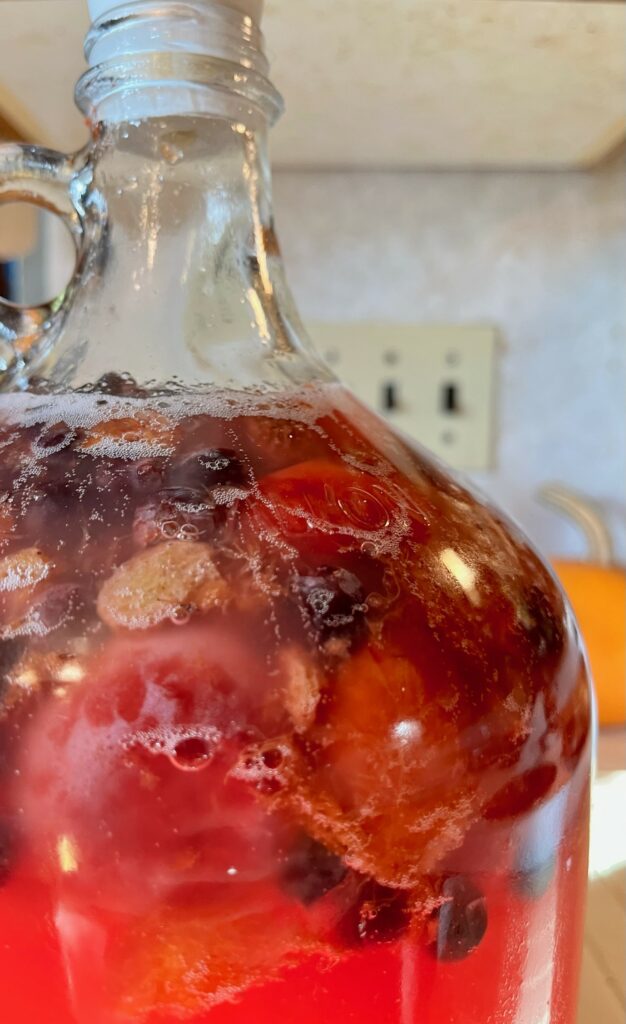
Equipment For The Initial Fermentation Process
- Glass carboy fermentation jug with airlock. Start with one gallon jugs. A five gallon jug could be an overwhelming first time batch.
- Large stainless steel pot. You can use a regular one from your cupboard but make sure it’s stainless steel and big enough to hold one gallon of liquid.
- Stainless steel spoon. Ensure it’s long enough to stir the honey water without getting your hands all sticky.
- Large funnel. The bigger the better. Trust me when I say that this will make a huge sticky mess if spilled. The bigger the funnel, the less chance of spillage when transferring from pot to fermentation jug.
- Kitchen thermometer. It doesn’t have to be anything fancy. Just long enough to reach the center of the liquid. This is extremely important as you can not add the yeast until a specific temperature is reached.
- Sanitizer. I used hydrogen peroxide when I first started, but eventually made the purchase of brewers sanitizer because I did not want to ruin a batch of hard work.
- Brewing yeast. Whatever yeast you choose, make sure that it is a champagne, wine or brewing yeast of sorts.
Equipment For Bottling The Mead
- Flip top bottles. I have met mead makers who bottle with a traditional bottle and cork system, but that just wasn’t for me. Flip top bottles are simple, cheap, and the rubber seal can be replaced. You can find the replacement seals on Amazon for a few dollars.
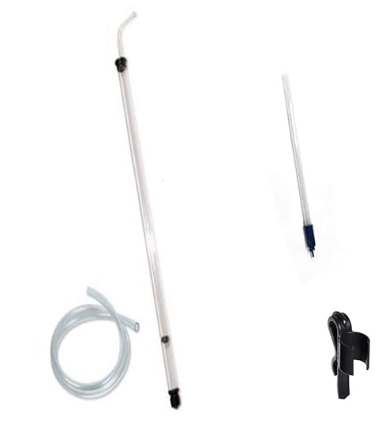
- Bottling wand. Makes siphoning from the fermentation jug to other vessels or bottles a dream!
- Siphon tubing. This will connect your siphon wand to the bottling wand.
- Siphon wand. You place this in your jug of mead and pump it to start the flow of liquid.
Alternatively, you can buy this all-in-one siphoning set. This is what I use for all of my batches – it works like a dream. It took me a bit to get the hang of it the first time but after that first initial use, its as simple as pie!
Once you have the equipment, you’ll need to begin to figure out what kind of mead you want to make. How sweet you want it, what fruits, etc. You’ll need honey – a lot of it. Please, do not go and buy from a supermarket. Go on Facebook, check the local flyer and find a local bee-keeper. I buy in 4 gallon tubs from a local bee keeper in my area, she also sells me some beeswax!
First Step – Sanitize
Once you have your equipment, honey, yeast, and desired fruit, herb, floral or spice – get ready to sanitize. Sanitize everything according to the package instructions. I mean everything – the spoon, pot, fermentation cap, jug etc. If anything falls on the floor or in the dirty sink… re-sanitize.
Second Step – Make The Honey Water Mixture (Must)
The term for the liquid that contains the water, honey and any additive is called ‘Must’ just for your information.
Start with adding 1/2 a gallon of filtered water to the pot and heat it up very slowly – use the low heat setting. Once the water is warm but not boiling, go ahead and add the honey.
The amount of honey used will determine how dry or sweet the mead will turn out. 2 pounds or less will result in a dry mead, while 2.5 pounds and above will give a much sweeter result. Keep in mind, mead has a very similar taste to wine.
Stir the honey in until it dissolves. Once everything is dissolved, turn the heat off. It should NOT be simmering or boiling.
Add in the additive of choice, get creative. I made a blueberry & sage mead and it was one of my favorites. I’ve also added orange, cinnamon, cloves, and apples and it turned out quite nice. Use what you like! You can use both fresh additives and frozen. Just make sure the frozen has thawed first. Use as much as you want. I always use over a cup of additives but it’ll vary depending on how I’d like the end result to taste.
Additional Second Step – Raisins, ew
Add raisins. I know, it sounds weird. Raisins act as a natural food for the yeast. This does not affect the taste of the mead. About a small handful is suffice.
Once the fruit and raisins are in the fermentation vessel, get ready to pour the honey water mixture into the jug. This can get very sticky if the mixture spills – so use a large as possible funnel, LOL! Once poured, top off the jug with cool filtered water leaving at least 2 inches between the honey mixture and the top of the jug.
Third Step – Yeast Time
Time to pitch the yeast. The water cannot be any warmer than 90 degrees F or it’ll affect the activity of the yeast. This is where you’ll use your thermometer. Others like to mix the yeast with a little water and pour that into the jug but I like to add the yeast right in once the temperature reaches 90 degrees. Add about 1/2 the packet for 1 gallon. The yeast is in, so screw on the cap (not the airlock cap) and shake that jug until you physically can’t shake it anymore. Grab a friend because I like to shake for 5-10 minutes and after a single minute – my arms are jell-o. After shaking, fill the airlock with a little water and put it into the stopper of the jug.
Fourth Step – Let It Ferment
I like to play it safe and leave the mead alone for 4 to 6 weeks, even if the bubbles have stopped. Keep an eye on it during the first couple days as sometimes the bubbles and foam can rise up into the airlock. If this happens, no big deal, just take the airlock off and rinse it out. Make sure there is always clean water in the airlock.
Fifth Step – Filter The Fermented Mead
After fermentation, sediment will settle on the bottom and fruit should remain near the top. We don’t want any of that in our final product. I like to rack my mead to ensure there is no sediment in the final product. Racking is a term used when referring to siphoning the mead into another glass jug and leaving behind the yuck. Using the siphoning equipment, transfer the liquid from the original jug into a clean and sanitized one. Try not to disturb the sediment on the bottom. Discard of what was left behind in the original. The transferred liquid will be ready to bottle if fermentation is done!
Optional Step – Double Rack
I like to double rack my mead to ensure crystal clear quality. I do this by popping the jug in the fridge (after the first racking process – step four) for 4-5 days. When the mead is pulled out of the fridge after those 4-5 days, you should be able to see all of the remaining sediment on the bottom. That’s all I do! Now, pull out the siphon tube and bottling wand and bottle up your first batch of mead!
Always make sure to date and label your mead. Taste it before you bottle it and decide if you like the taste of it ‘green’ (un-aged). If not, be prepared to let it age in a cool dark area for 6 months. You can even leave the mead to age for years – if you are patient enough, haha!


One comment on “Beginners Guide – Making Mead”